PIZZA!! I have a theory; Indians like and eat pizza much
more than the creators- Italian and copyrighters- American (always first to patent, but never to create... have I told you that the country has even patented ‘bhang’ chocolates.. beat that now!!!) Anyways, coming back to our
point, PIZZA is regarded with a great respect in India. I have had the cheap 50
bucks worth ones and then the posh 1000 + worth ones. But trust me when I say,
this recipe makes one of the best tasting pizza that you will ever taste. I know,
its a project in its own way. The time that the dough will take to rise! The time
that the pizza will take in the oven to be made! In that time though, you are
actually doing no cooking but chilling around the house, lounging in front of
the TV, making a beautiful pitcher of summery sangaria... etc. etc. etc.
But once done, I guarantee you a slush of such emotions,
like: why didn’t I make more & when would I try it again!! However daunting
the task is, you would go back to make it again, the very next weekend.
A good pizza has to start with a beautiful flavourful base. Anywhere
outside your house, that base is made with refined flour and chemicals that are
totally useless in your body; even though the word ‘’whole-wheat’’ screams
through. But at home, there is no fooling. I make my pizza with ‘Chapatti Atta’
I get from my neighbourhood miller. Its wholesome, whole wheat and oats mixed
and, ground in front of my trusted eyes. And I love the nutty flavour that it so
amazingly and subtly imparts to my pizza!! Try this once atleast, before
dismissing the idea..
Now to get started, the first step has to kneading and
proofing the dough (D-Oh)!!
Ingredients:
 1 cup lukewarm water (41° C–46° C)
3 cups whole wheat flour
3 tbsp. honey
11/2 tsp. salt
2 tbsp. olive oil plus extra for spreading on dough
2 tsp. yeast
1-2 tsp. Cornmeal/ semolina
Method:
First of all, check the yeast you got from your grocer. Depending
on which city or area you are in, you may get a choice between instant yeast or
active dry yeast. I always choose the latter as it is twice cheaper than the
instant ones and somehow in the Mumbai climate, it tends to shelf and work
better. But if you have instant yeast, no worries just don’t do the first step
and mix the yeast directly in with the water, wheat, honey, olive-oil and salt.
1.
Proof the yeast: Take half a cup of lukewarm
water and mix in the honey. Once mixed thoroughly, add the 2 tsp of those little
yeast globules, give it a stir with the spoon and let it stand for five minutes
or so till there are tiny bubbles all over the surface of water and the mix
looks kinda creamy.
2. Now take the wheat flour in a big mixing bowl
and dump in all the ingredients, except cornmeal. Mix and knead till you form clean
springy dough, which springs up after you dent it slightly.
First timers, don’t fear the sticky fingers
that normally happens in the beginning, but as you mix the ingredients, the
dough will stick to itself and away from your fingers. Scientists call this
process gluten formation, and oh we so love this exact gluten!! If you follow
the measurements as I have given here, it will look just as the picture here. It
should not stick, but if it does, keep a bit of the flour handy but use it ever
too stingily, till it looks exactly like the picture here.
3.
This is enough to make two, medium to large
pizza. So if you are only in the mood to make one, stick the other piece of
dough round in some oiled cling film. Double wrap it in some foil and freeze it
for later use.
Once frozen, this dough will stay for at
least two months or so. Just on the day you intend to cook with the frozen
dough, defrost it for a night in the refrigerator or do as I do, stick it in
the microwave and defrost there. Once defrosted, leave it to double for 2 hrs
or so, depending on the temperature of your kitchen!!
4.
For the half that you intend to make right away,
form it into a smooth round ball. Make sure that the top surface doesn’t have
any cracks. If any crack appears pinch it together and form a smooth ball. Basically
you are making the dough airtight in itself, so that the yeast germinates and
the air doesn’t have a place to escape from. This air is wat will double the dough
ball and make a fluffy crispy pizza base!!
5.
Now in an oiled bowl, let the dough rise til its
double in size. The time taken will depend on the temperature. I normally leave
my dough in the bowl, covered with a clean kitchen towel, inside the microwave
for 1 hour to 1 and ½ hours. Wait till it doubles. This wait will be rewarded
with a crispy yet fluffy pizza.
Pizza or any bread making is a science. There are steps that
you need to follow and measurements that you need to exact. Hopefully you all
should give it a try, at least once. See the difference in the taste and then I
guarantee you, you will never buy those funny plastic like pizza bases that is
available in the mkt.
“Pizza to top: Part 2” will follow in soon, keep checking
the space!! Let the “D-OH” rise as of now!! Cheers!!


 Life in a big city is very simple!! Workdays, weekends and
booze.. Be it the sophisticated bubbly or the very collegian old monk with
coke; preferences may be a lot but need, boils down to one.. To be merry!!!
Friday night, office-over, a handy preferred poison, someone by your arms and a
kitchen to rummage through... But boozing without snacks is a crime. And thou
shalt never commit that!!
Life in a big city is very simple!! Workdays, weekends and
booze.. Be it the sophisticated bubbly or the very collegian old monk with
coke; preferences may be a lot but need, boils down to one.. To be merry!!!
Friday night, office-over, a handy preferred poison, someone by your arms and a
kitchen to rummage through... But boozing without snacks is a crime. And thou
shalt never commit that!!

 I have tried my best to like these both together, but
somehow, I aint able to. Whether it is
in form of an overly greasy, eggy and deep fried Leopold version or in my
somewhat healthy tawa-grilled version, both haven’t really got me to fancy this odd combination of a dish!! So, I am basically keeping these two
dishes different.
I have tried my best to like these both together, but
somehow, I aint able to. Whether it is
in form of an overly greasy, eggy and deep fried Leopold version or in my
somewhat healthy tawa-grilled version, both haven’t really got me to fancy this odd combination of a dish!! So, I am basically keeping these two
dishes different. Ingredients:
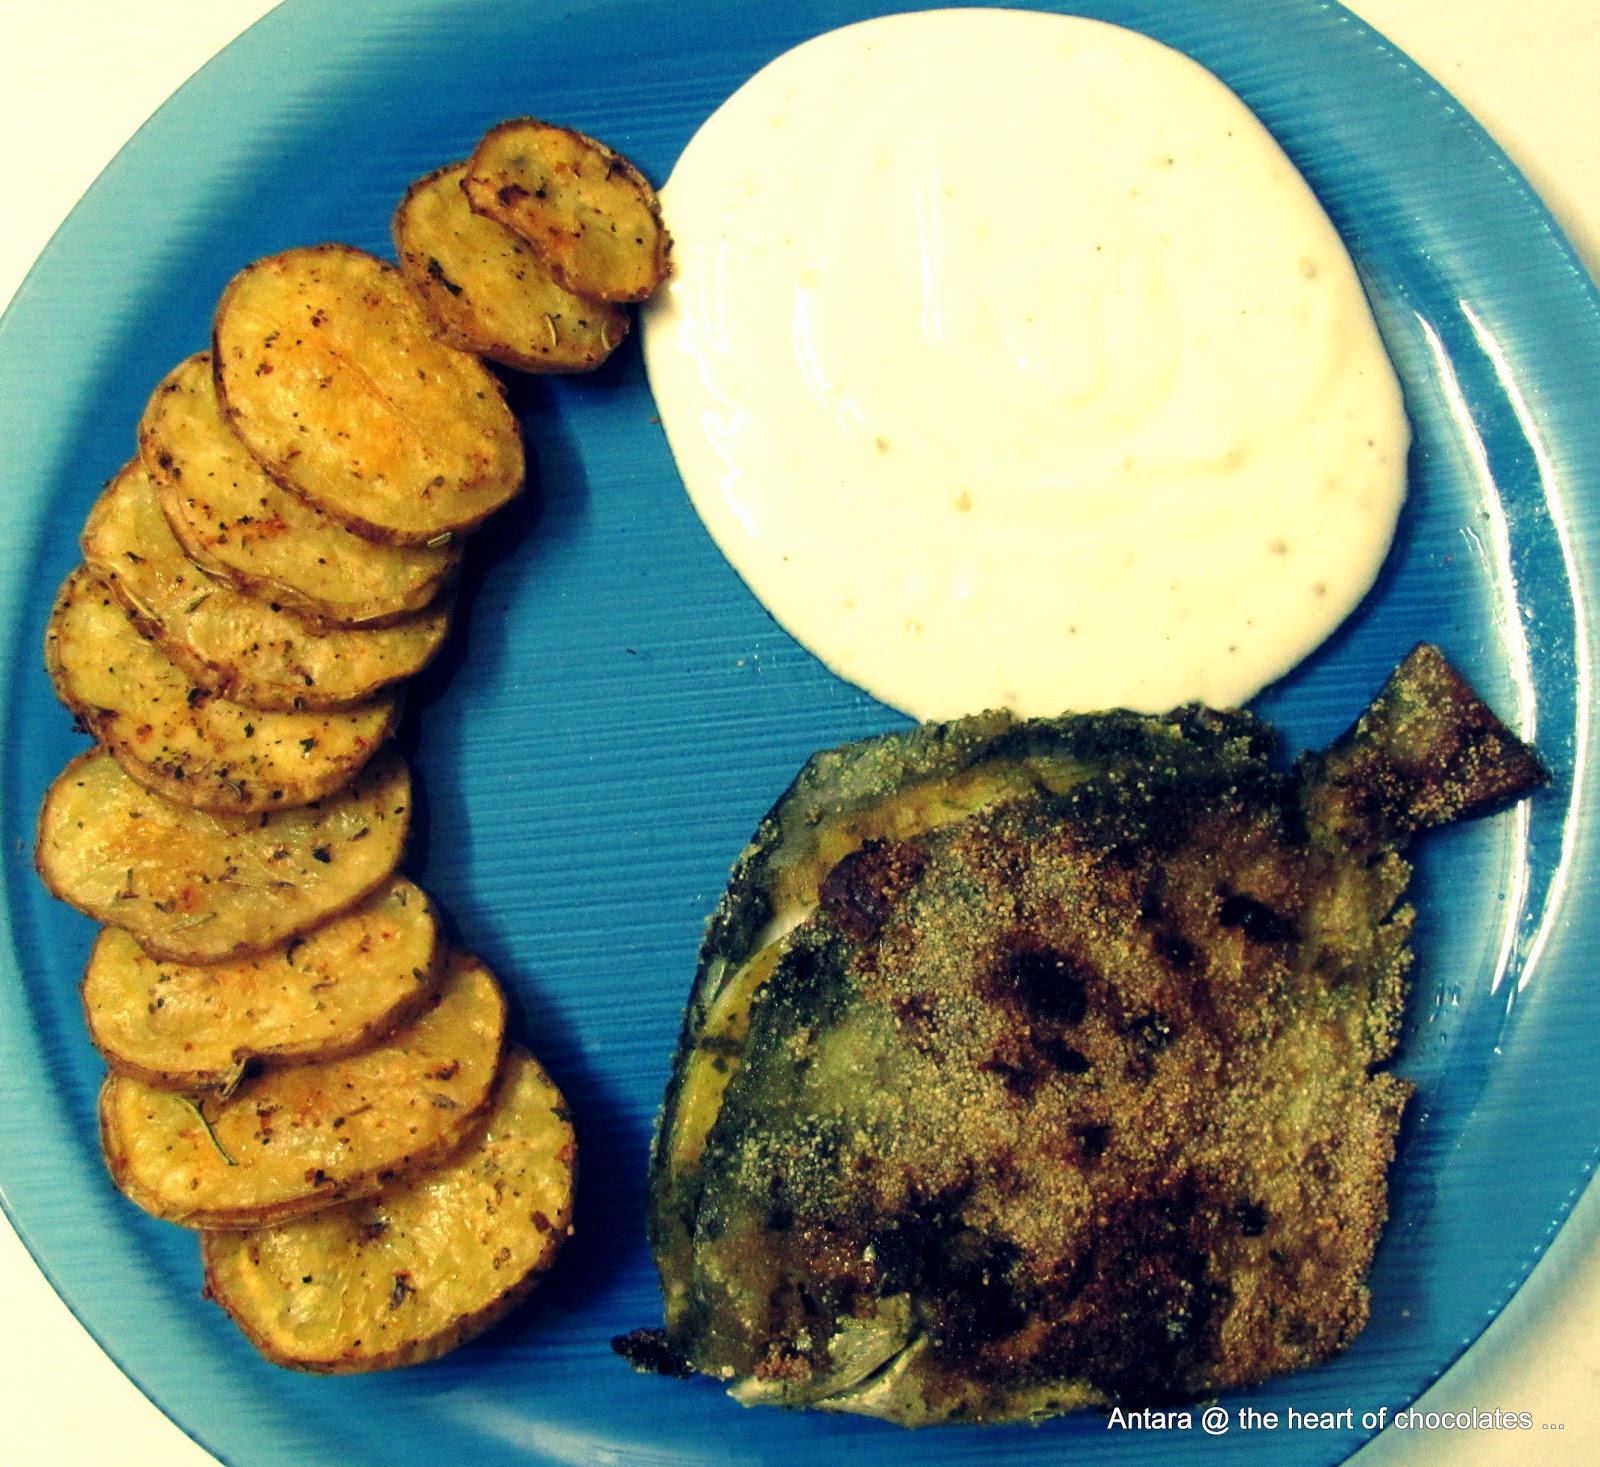 Cheers!!


 Everyone told me, milk creates dessert... I rebelled to this
thought. Obviously we know abt the famous white sauce, but I wanted something
more daring. Something like, savoury Custard Pie with lots of milk and veggies,
but no cheese. See, the theory behind was that putting in a large quantity of milk will provide a rich dairy taste that we all love and like; making it light and healthy, in the same time!!
Everyone told me, milk creates dessert... I rebelled to this
thought. Obviously we know abt the famous white sauce, but I wanted something
more daring. Something like, savoury Custard Pie with lots of milk and veggies,
but no cheese. See, the theory behind was that putting in a large quantity of milk will provide a rich dairy taste that we all love and like; making it light and healthy, in the same time!!
 Tip: The rich taste of Pride of cow’s milk really didn’t let
us miss cheese in this recipe. In case you are not too sure if your brand of
milk will work well for this recipe, you can put in a tsp full of milk powder
in that and mix well to combine. That will enhance the dairy taste, though keeping
it light on calories!
Tip: The rich taste of Pride of cow’s milk really didn’t let
us miss cheese in this recipe. In case you are not too sure if your brand of
milk will work well for this recipe, you can put in a tsp full of milk powder
in that and mix well to combine. That will enhance the dairy taste, though keeping
it light on calories! The ingredients cannot get simpler than this. The only thing
that you have to take care is the right proportion and proper measurements.
The ingredients cannot get simpler than this. The only thing
that you have to take care is the right proportion and proper measurements. Once thoroughly mixed, put it on a medium to low flame and
constantly stir it, till the mix comes together as a dough and leaves the sides
of the wok. This can take anywhere from 5 to 8 minutes. Make sure to constantly stir it while the heat
is on, as the semolina can easily catch on the sides of the wok, and burn.
Once thoroughly mixed, put it on a medium to low flame and
constantly stir it, till the mix comes together as a dough and leaves the sides
of the wok. This can take anywhere from 5 to 8 minutes. Make sure to constantly stir it while the heat
is on, as the semolina can easily catch on the sides of the wok, and burn. Once set, cut it as big or small as u wish and serve with Jaggered Milk on the side.
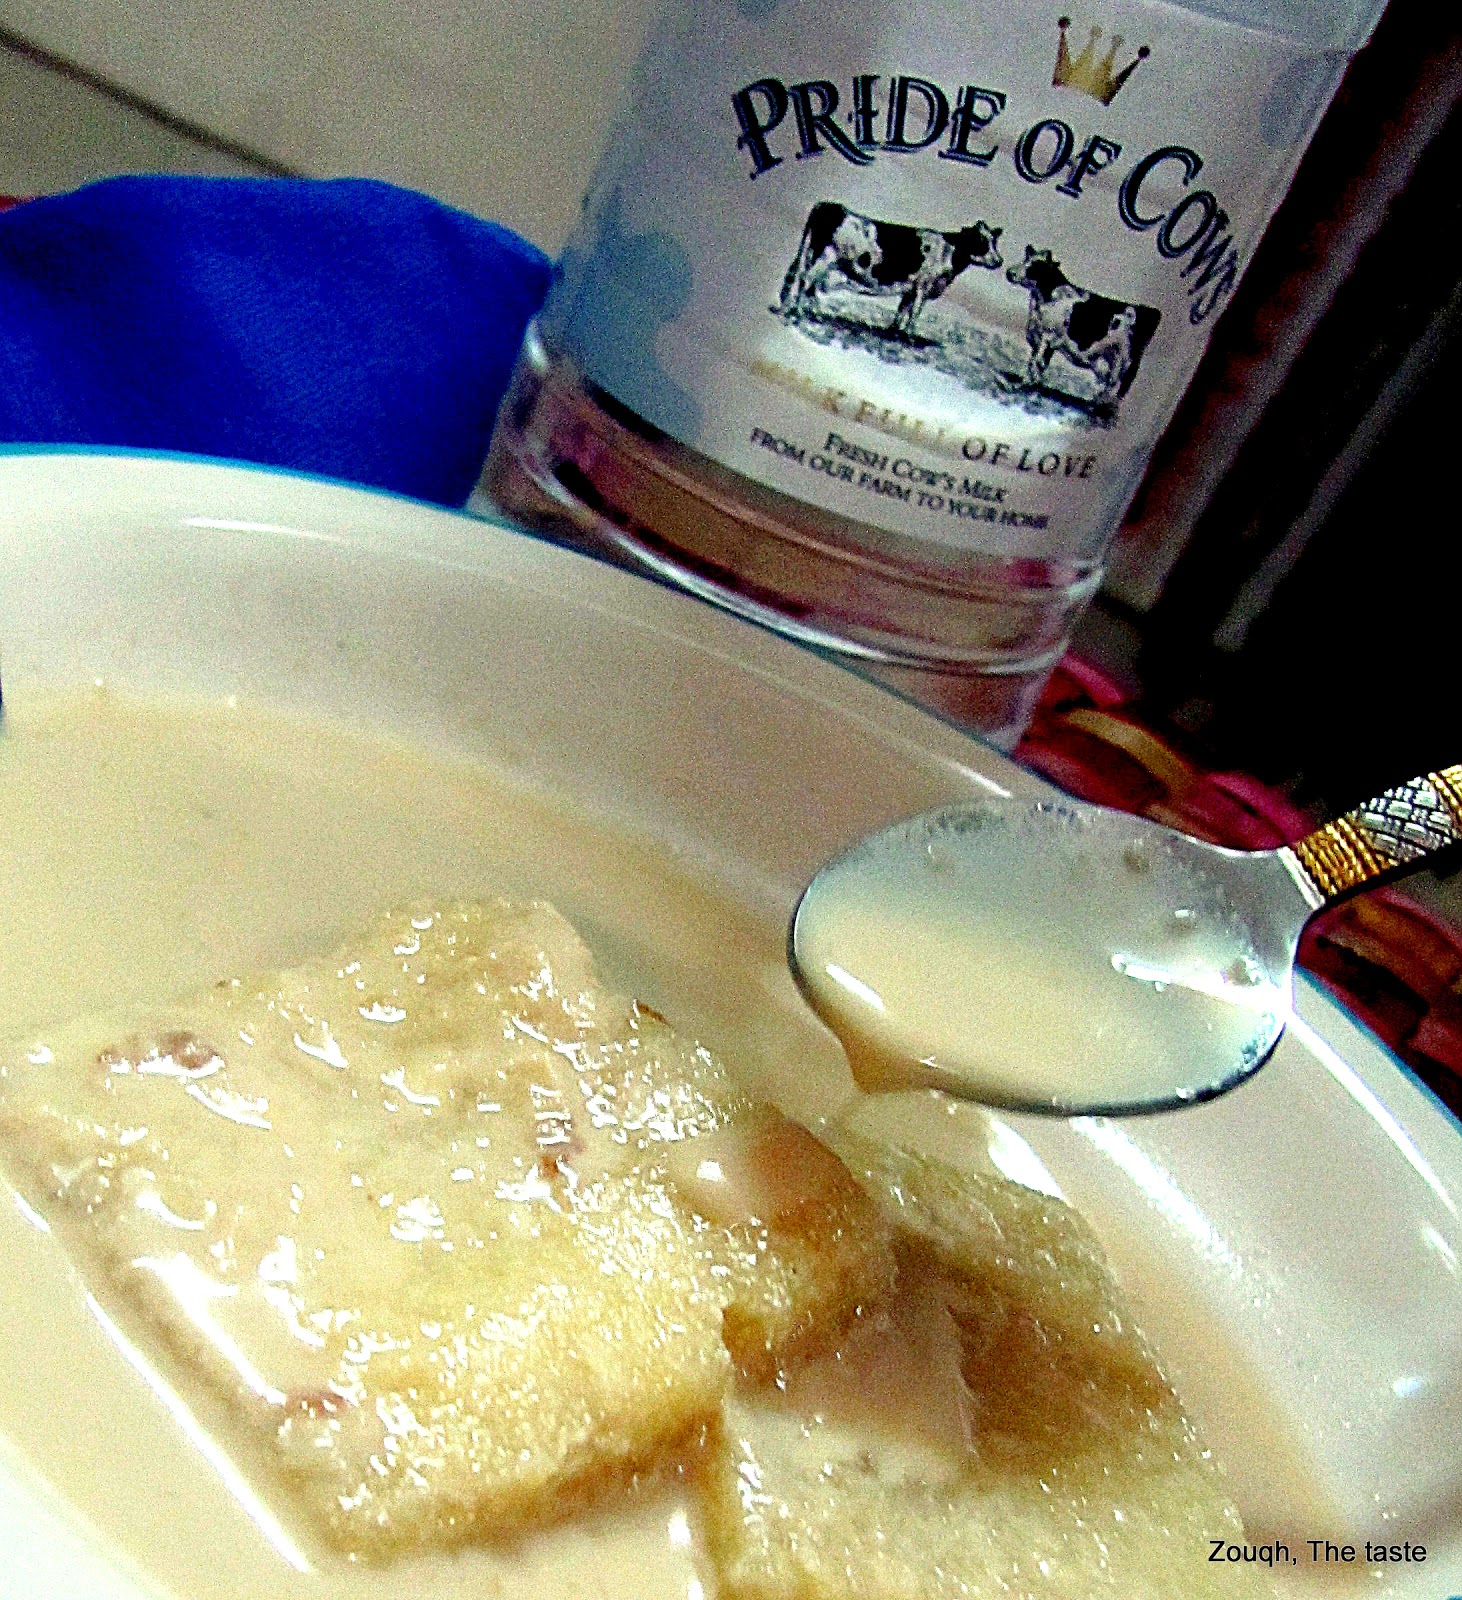

 I made a simple recipe which was devoured by my very finicky
hubby, within minutes of making. It’s my favourite healthy way to drink milk
that requires:
I made a simple recipe which was devoured by my very finicky
hubby, within minutes of making. It’s my favourite healthy way to drink milk
that requires:


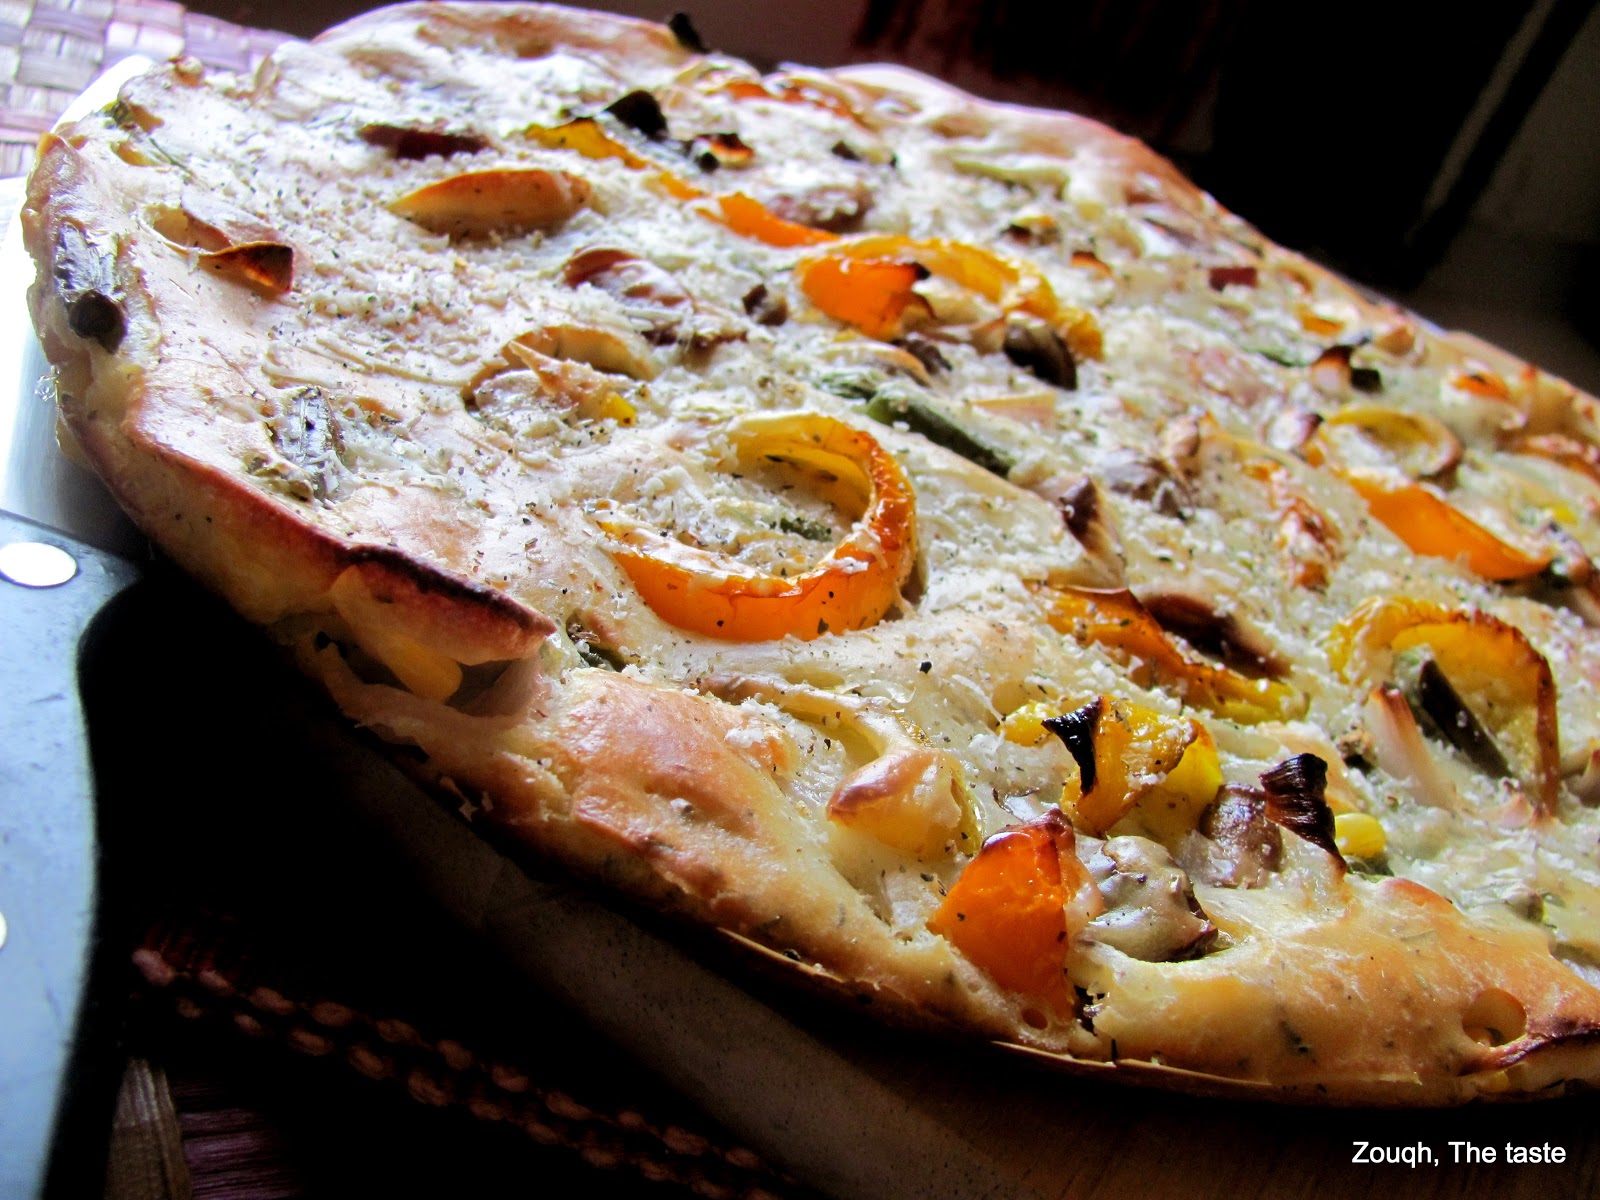
 The topping can be as many as there are stars in the sky. Choose
whatever you want and get it ready!! Read on what I did with this freedom and
how I topped pizza, my way!!!
The topping can be as many as there are stars in the sky. Choose
whatever you want and get it ready!! Read on what I did with this freedom and
how I topped pizza, my way!!!


 1 cup lukewarm water (41° C–46° C)


